Prerequisites
- OpsRamp Nextgen Gateway supported version 14.0.0 and above.
- OpsRamp Classic Gateway(Linux) supported version 14.0.0 and above.
Note: OpsRamp recommends using the latest Gateway version for full coverage of recent bug fixes, enhancements, etc.
<details>
  <summary><b>Unassign template (or) delete the empty graphs for SDK 1.0</b></summary>
- Navigate to Infrastructure > Search > Storage > Hitachi NAS.
- Select the resource and click Metric.
- Copy the Template name.
- Navigate to Setup > Monitoring > Template.
- Right click on the Search By Template Name search box, and click Paste on the Quick Access Toolbar.
<img src="https://s3.us-east-2.amazonaws.com/docsmedia.opsramp.com/screenshots/Integrations/Hitachi%20NAS/hitachi-nas.png" class="image-border" width= "1200" height= "1500" onclick="openModal('https://s3.us-east-2.amazonaws.com/docsmedia.opsramp.com/screenshots/Integrations/Hitachi%20NAS/hitachi-nas.png')">
- Click the Device number. The Devices screen appears.
- Select the resource and click Unassign. The confirmation message is displayed.
- Select the Also delete the associated graphs checkbox. and click Yes.
</details>
Configure Hitachi NAS
Configure and Install the Hitachi NAS Integration
- From All Clients, select a client.
- Navigate to Setup > Account.
- Select the Integrations and Apps tab.
- The Installed Integrations page, where all the installed applications are displayed. If there are no installed applications, it will navigate to the Available Integrations and Apps page.
- Click + ADD on the Installed Integrations page. The Available Integrations and Apps page displays all the available applications along with the newly created application with the version.
Note: Search for the application using the search option available. Alternatively, use the All Categories option to search. - Click ADD in the Hitachi NAS application.
- In the Configurations page, click + ADD. The Add Configuration page appears.
- Enter the below mentioned BASIC INFORMATION:
| Functionality | Description |
|---|---|
| Name | Enter the name for the configuration. |
| Host Name / IP Address | Enter the Host name or the IP address. |
| Port | API Port information Note: By default 844 is selected. |
| Serial Number | Enter the serial number. |
| Credentials | Select the credentials from the drop-down list. Note: Click + Add to create a credential. |
Notes:
- By default the Is Secure checkbox is selected.
- Host Name / IP Address and Port should be accessible from Gateway.
- Select the following:
- App Failure Notifications: if turned on, you will be notified in case of an application failure that is, Connectivity Exception, Authentication Exception.
- Select the below mentioned CUSTOM ATTRIBUTE:
| Functionality | Description |
|---|---|
| Custom Attribute | Select the custom attribute from the drop down list box. |
| Value | Select the value from the drop down list box. |
Note: The custom attribute that you add here will be assigned to all the resources that are created by the integration. You can add a maximum of five custom attributes (key and value pair).
- In the RESOURCE TYPE section, select:
- ALL: All the existing and future resources will be discovered.
- SELECT: You can select one or multiple resources to be discovered.
- In the DISCOVERY SCHEDULE section, select Recurrence Pattern to add one of the following patterns:
- Minutes
- Hourly
- Daily
- Weekly
- Monthly
- Click ADD.

Now the configuration is saved and displayed on the configurations page after you save it.
Note: From the same page, you may Edit and Remove the created configuration.
- Click NEXT.
- In the Installation page, select an existing registered gateway profile, and click FINISH.
- Below are the optional steps you can perform on the Installing page.
- Under the ADVANCED SETTINGS, select the Bypass Resource Reconciliation checkbox.
Note: To Bypass Resource Reconciliation for the same resource discovered by multiple applications, two separate resources will be created with their respective attributes from the individual discoveries.
- Under the ADVANCED SETTINGS, select the Bypass Resource Reconciliation checkbox.
- Click +ADD to create a new collector by providing a name or use the pre-populated name.
- Select an existing registered profile.
- Click FINISH.
The integration is now installed and displayed on the Installed Integration page. Use the search field to find the installed integration.
Modify the Configuration
See Modify an Installed Integration or Application article.
Note: Select the Hitachi NAS application.
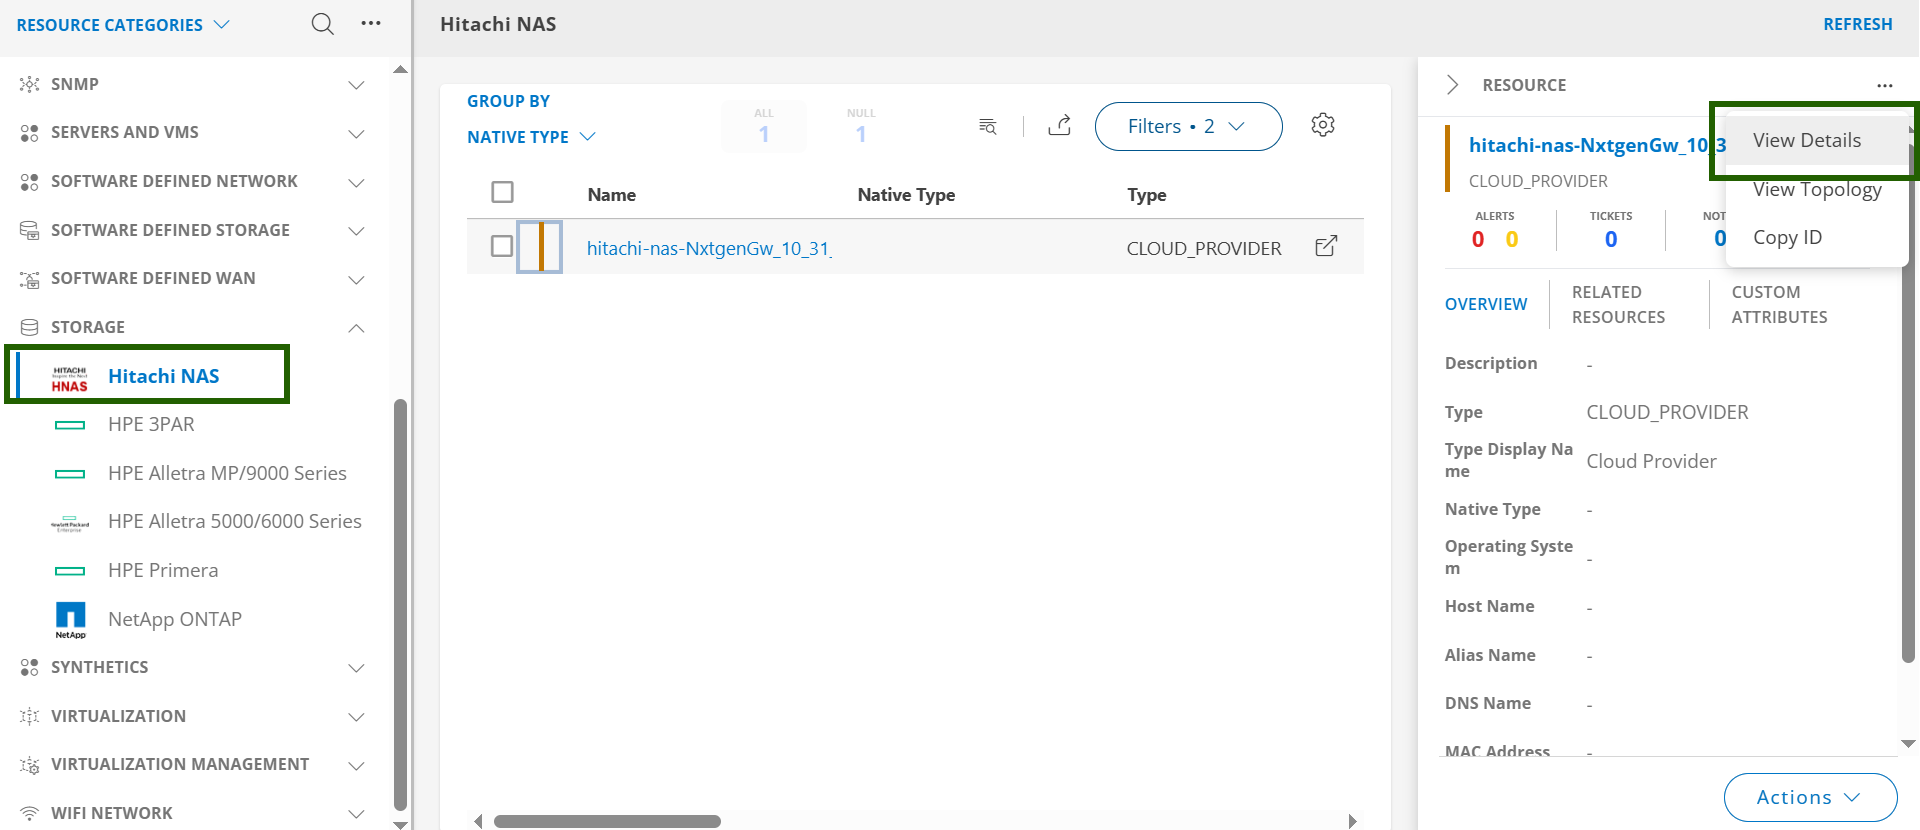
View the Hitachi NAS Details
The Hitachi NAS integration is displayed in the Infrastructure >Search > Storage Arrays > Hitachi-Nas. You can navigate to the Attributes tab to view the discovery details, and the Metrics tab to view the metric details for Hitachi NAS.